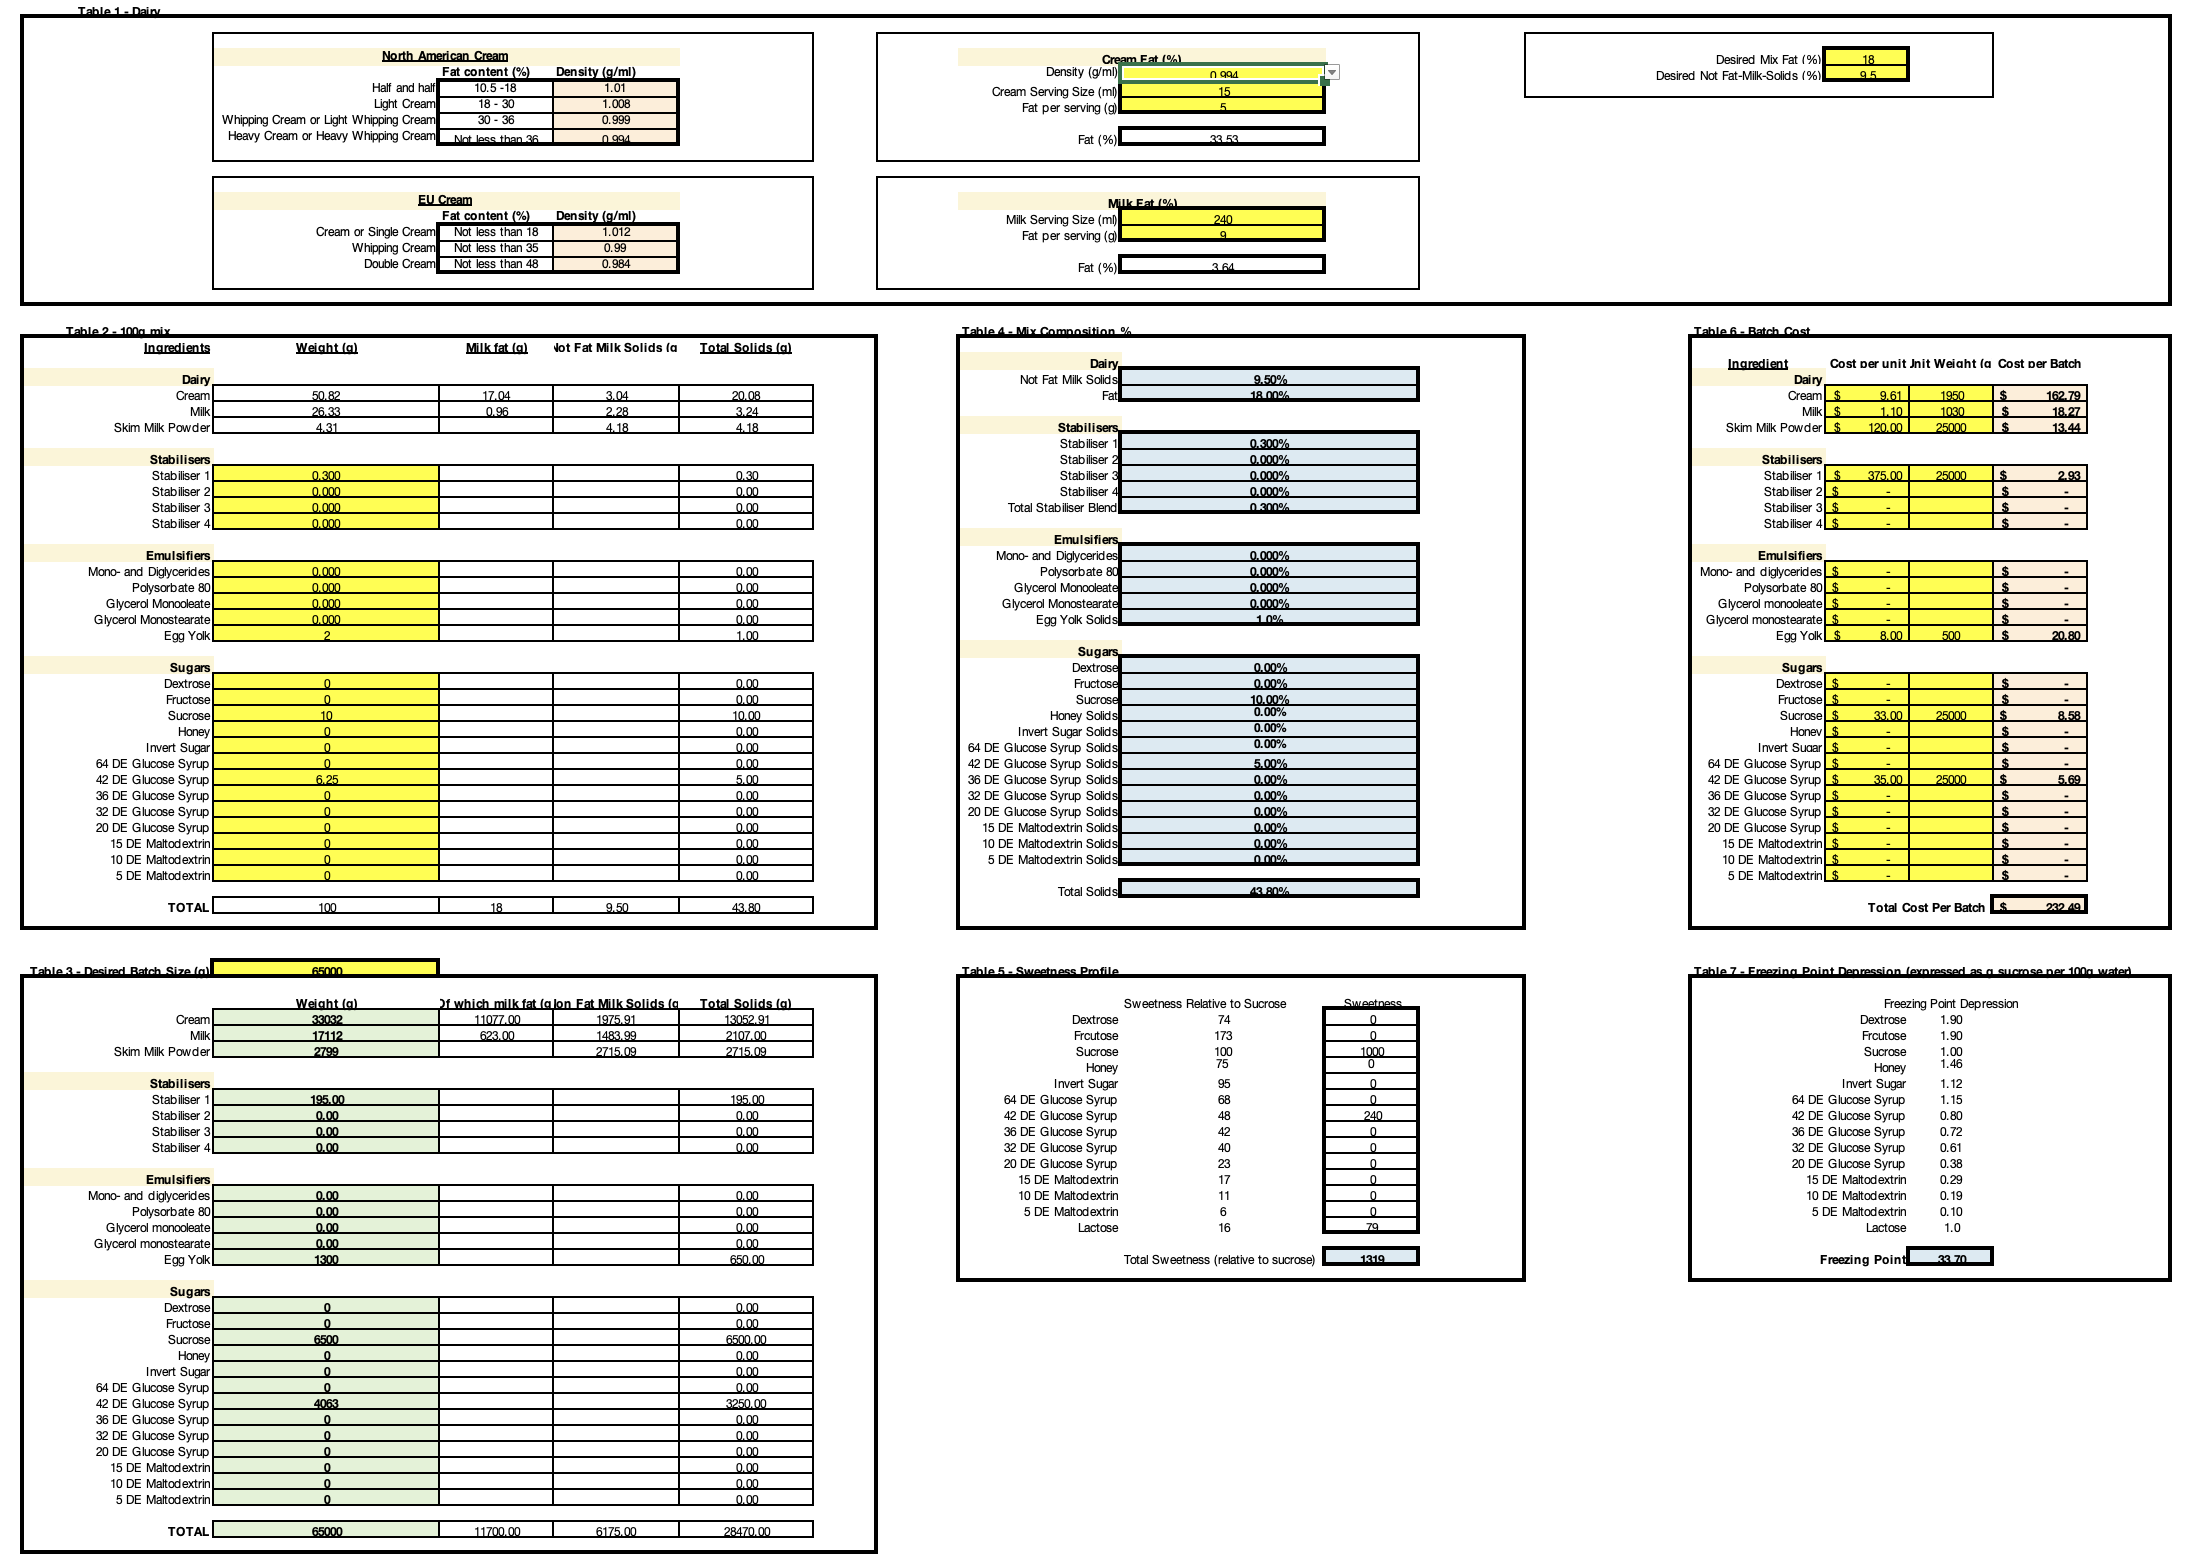
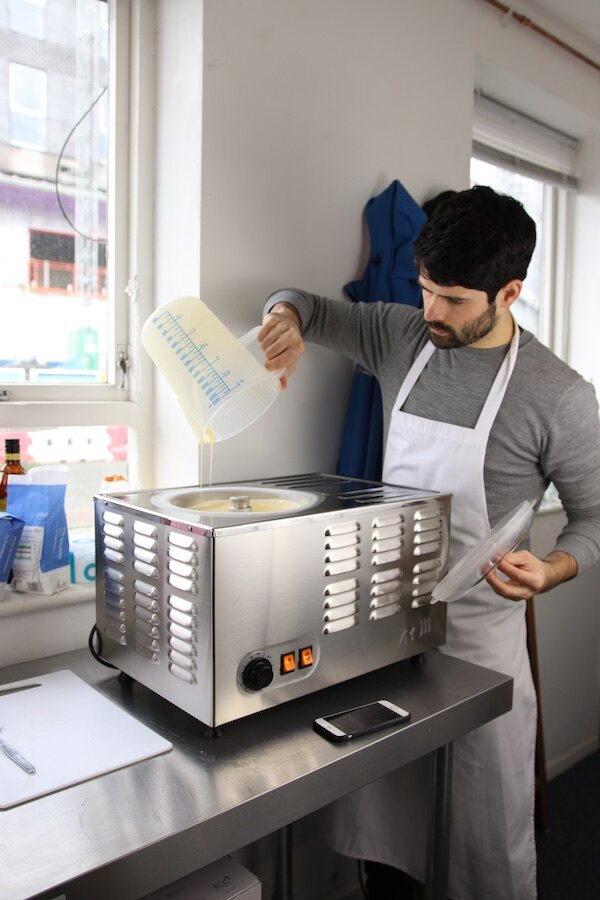
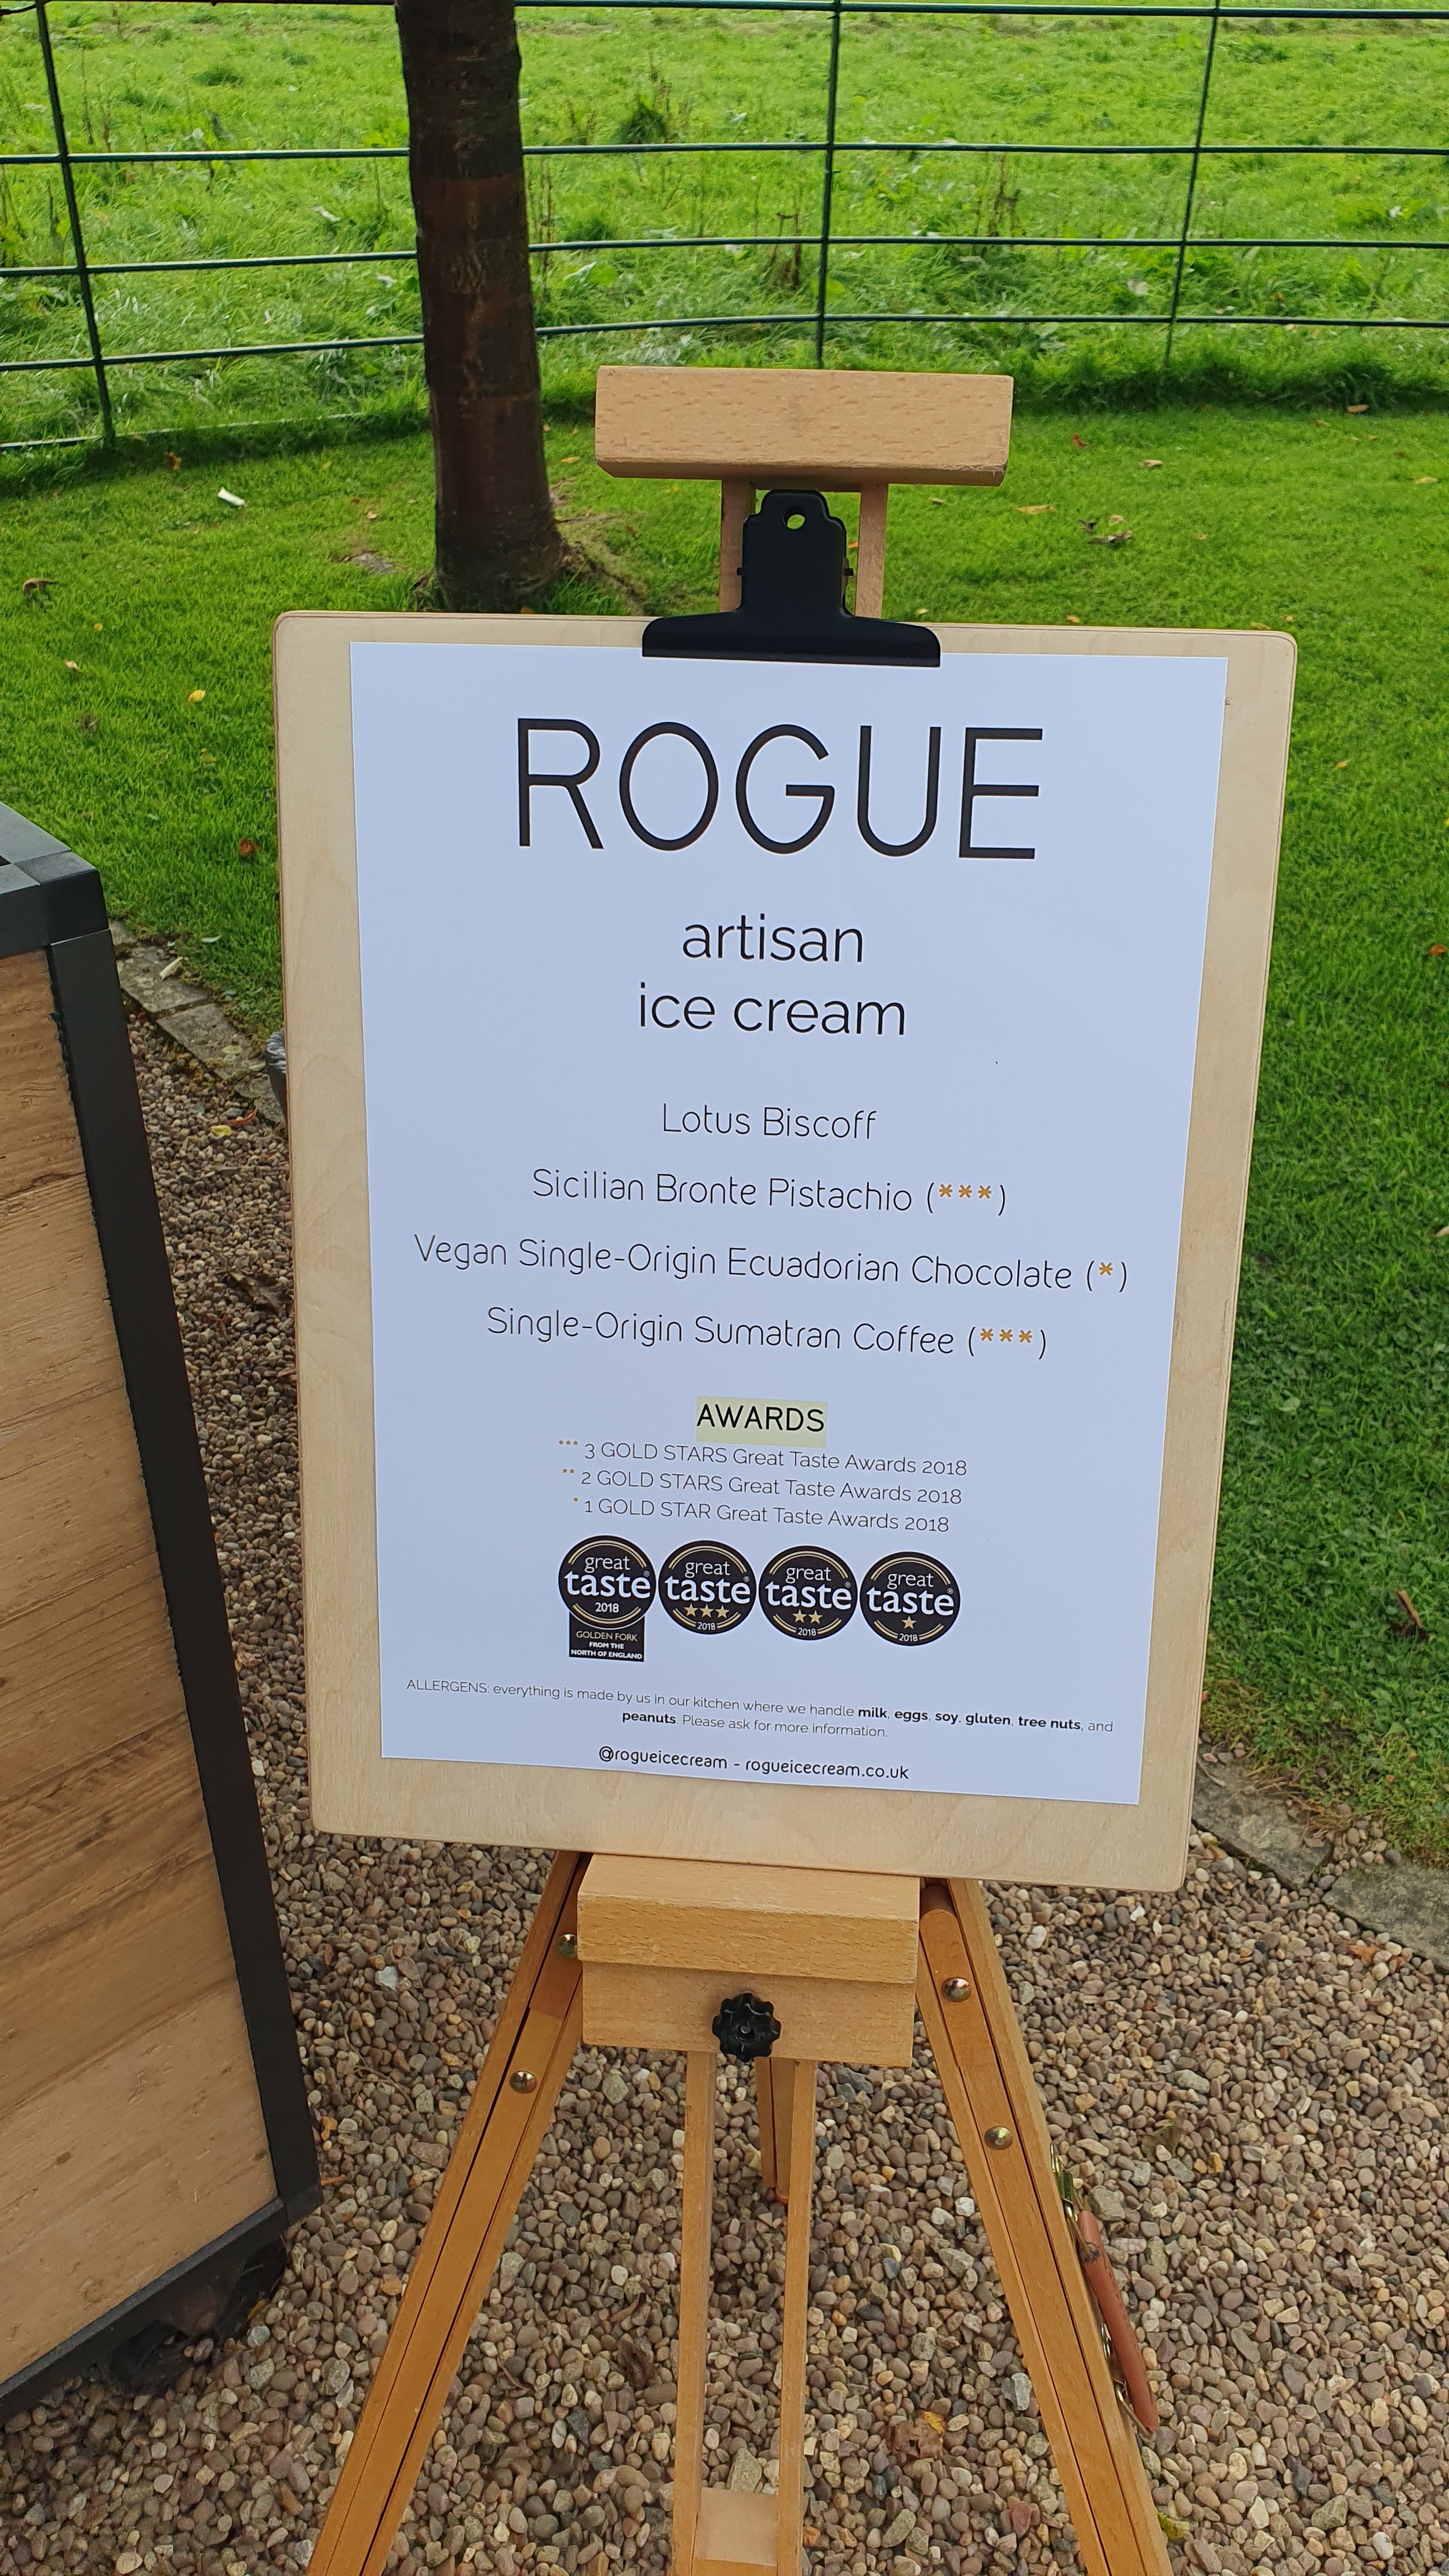
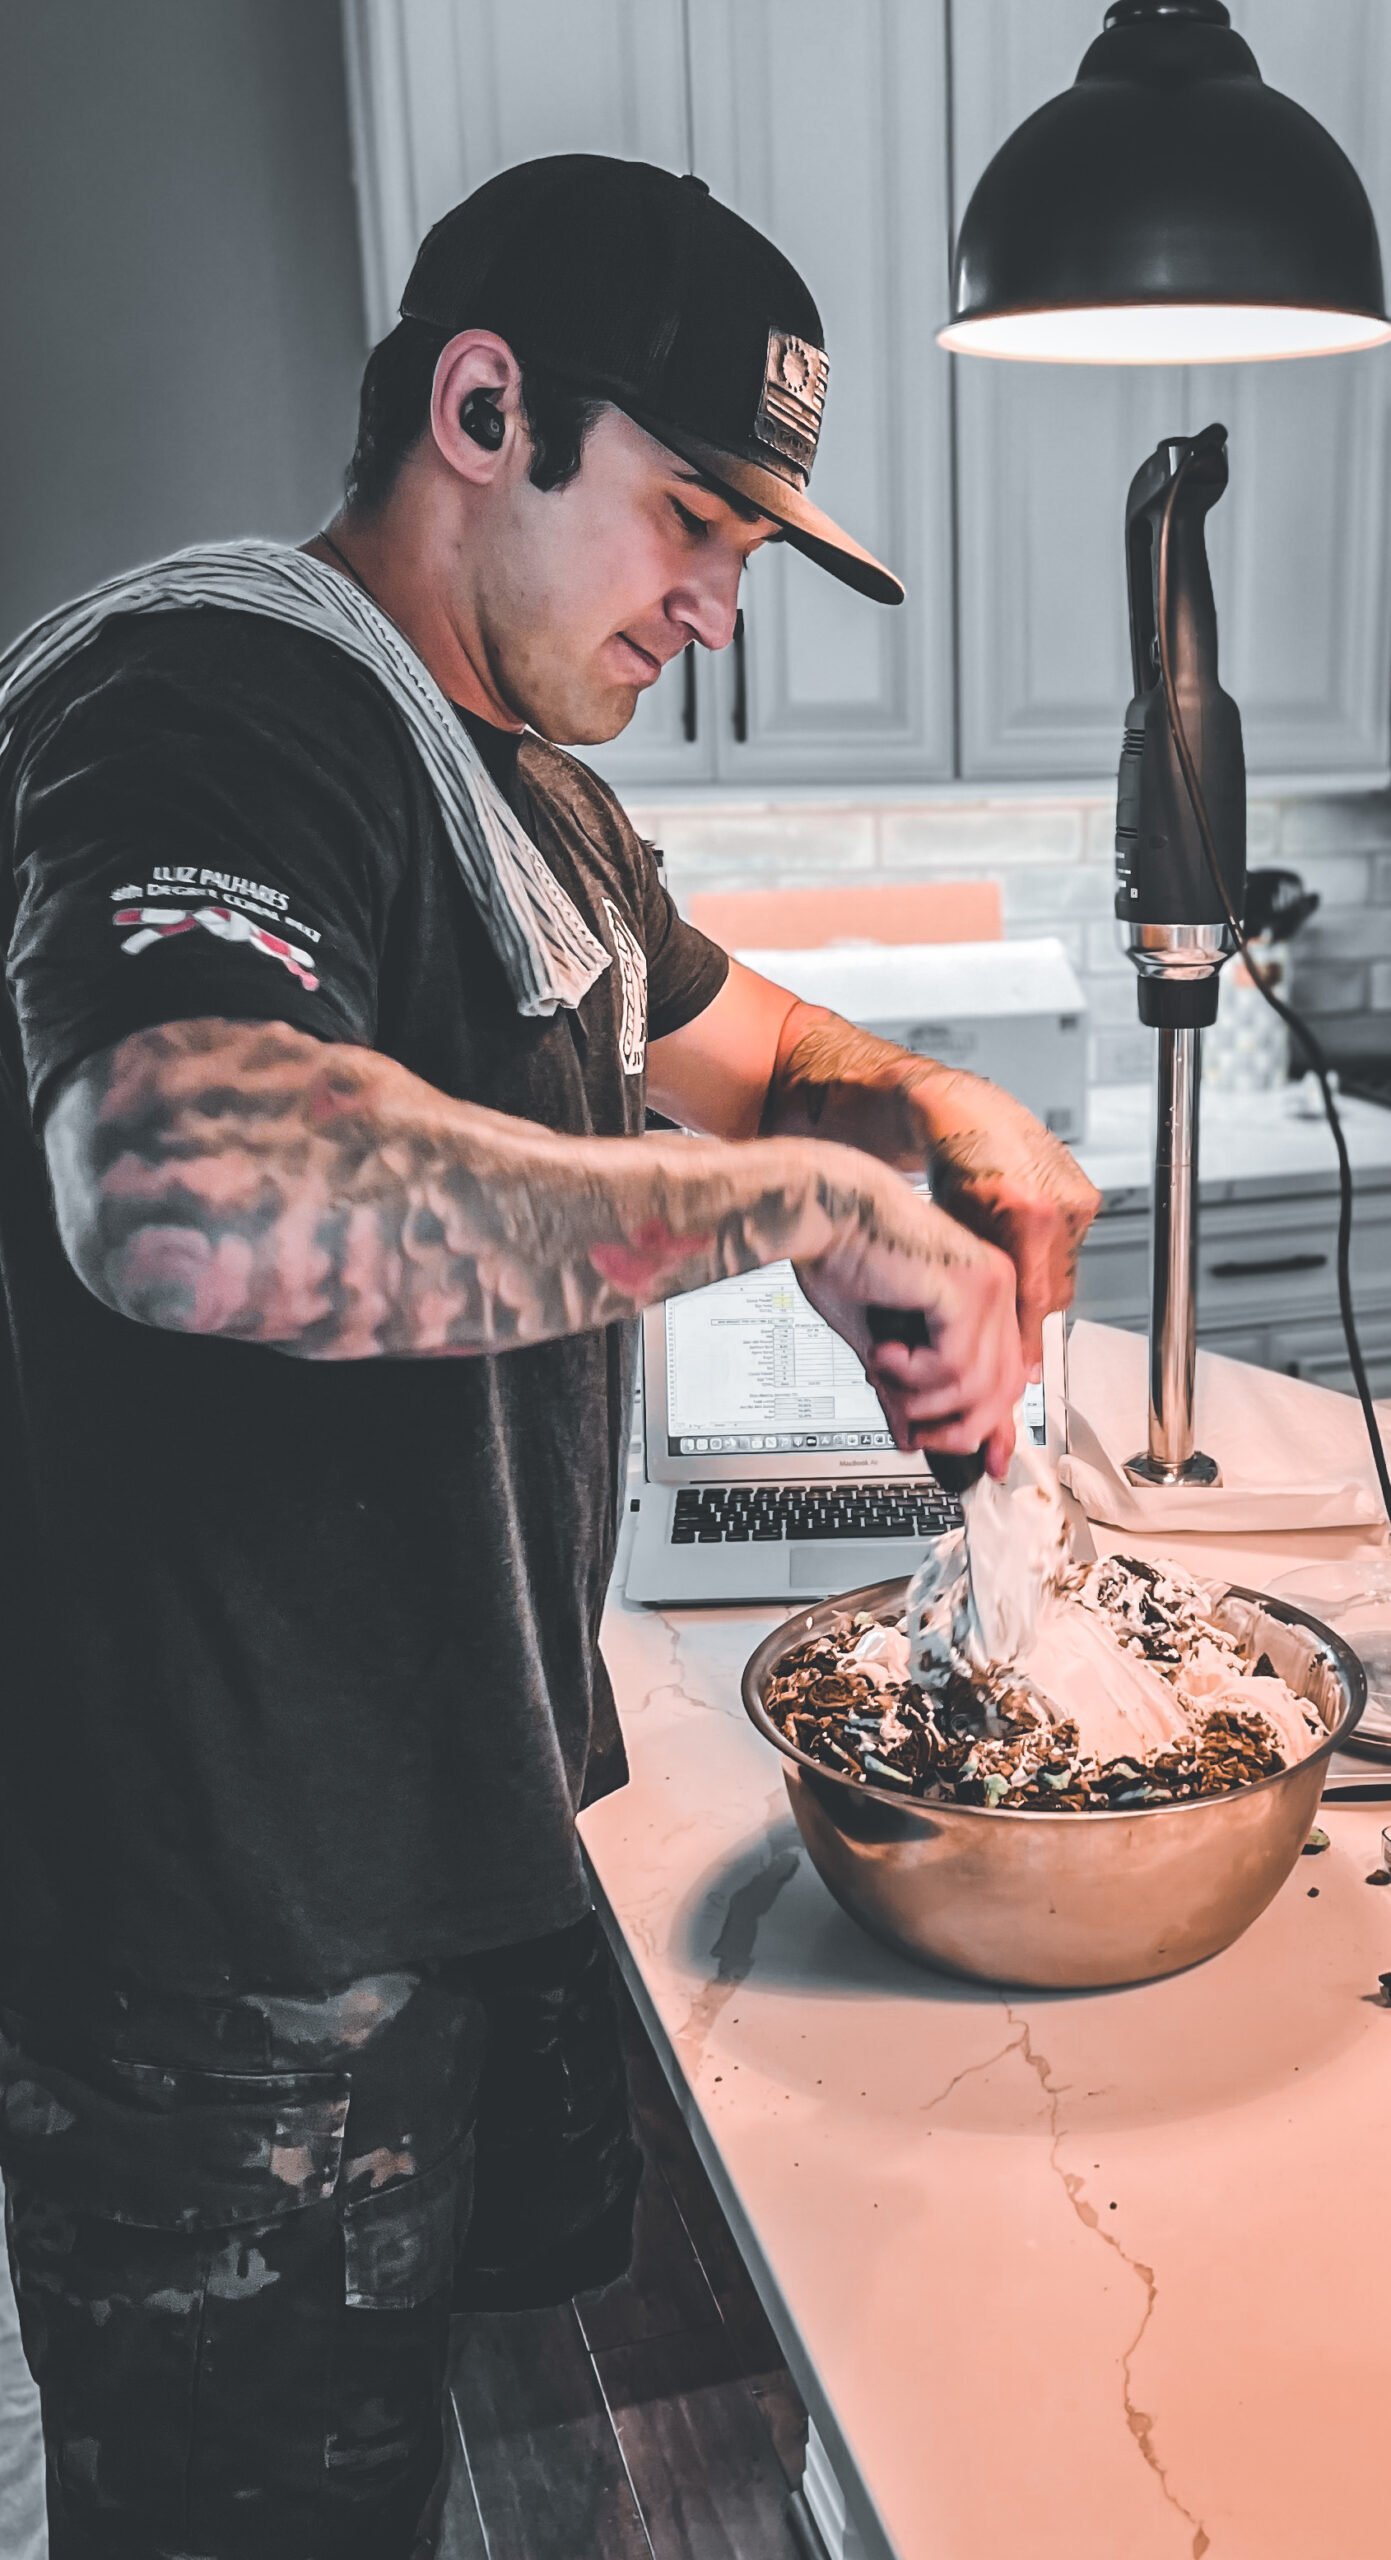
Commercial Ice Cream & Gelato Mix Calculation Spreadsheet
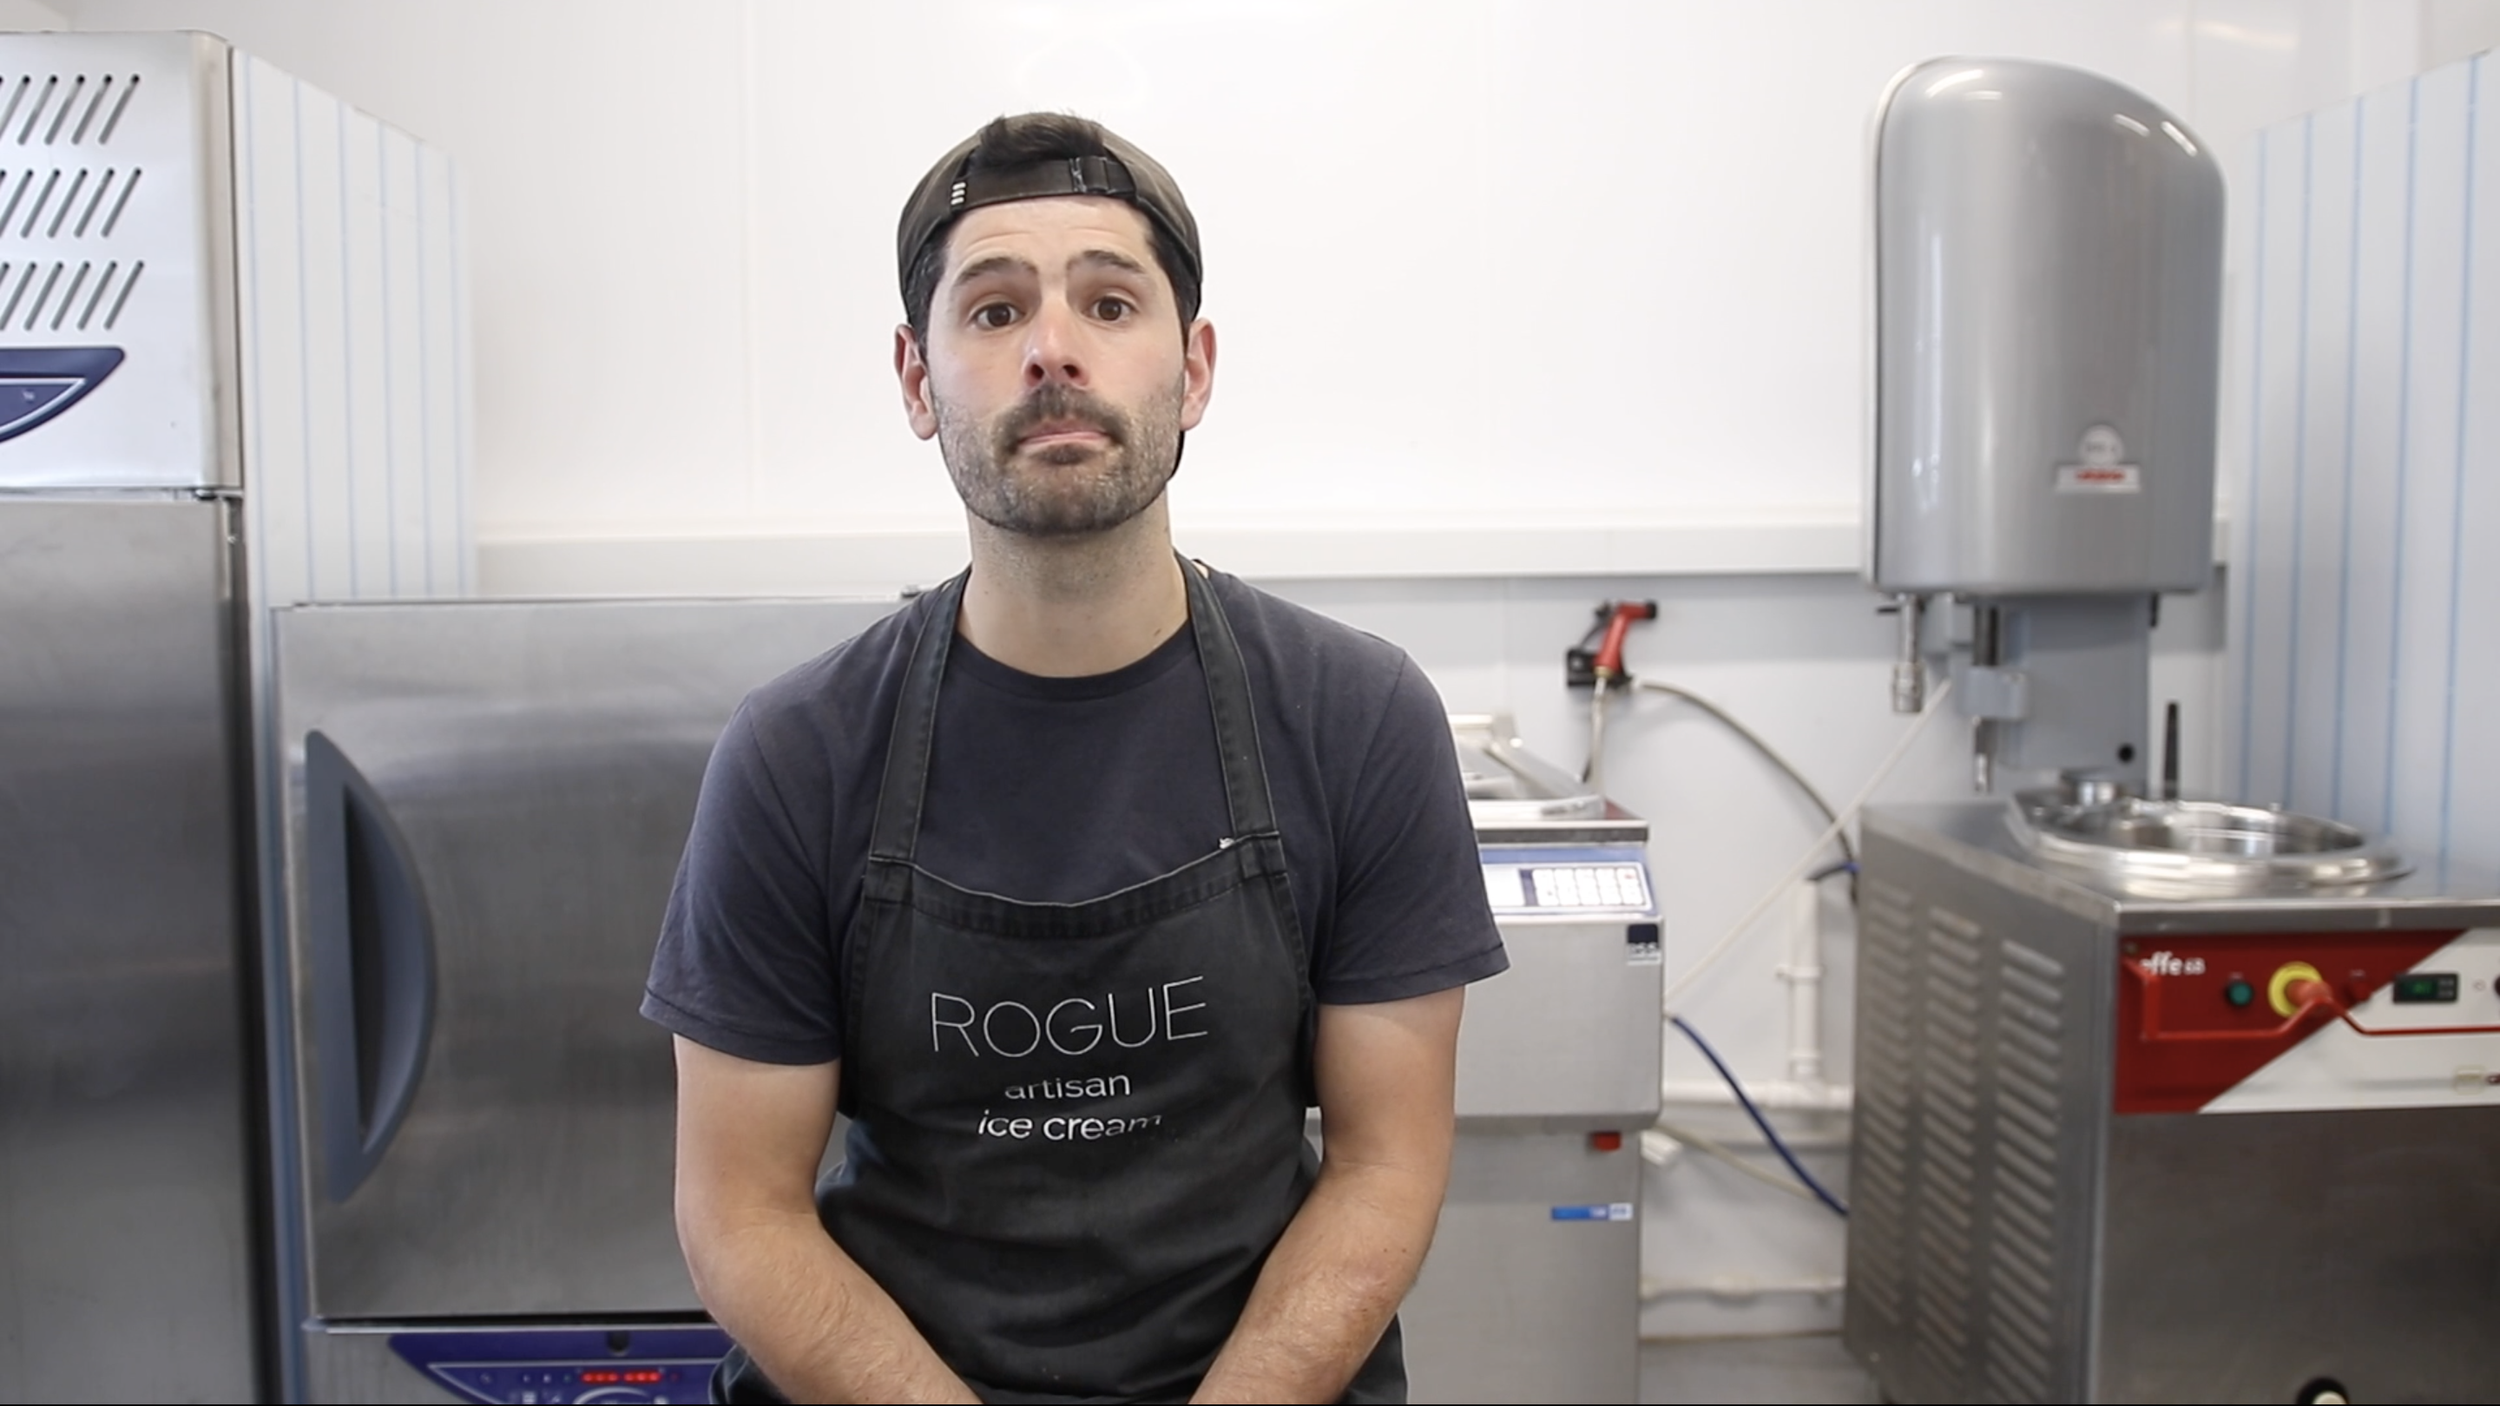
This is the Excel spreadsheet that I created, and continue to use, to formulate my commercial ice cream recipes for my small business, Rogue Artisan Ice Cream.
Support my work on Patreon
I want to be able to spend significantly more time on research and publishing content here on the blog. If you would like to support my work, please consider doing so through one of the three membership tiers on Patreon
Ninja Creami NC301 Easy No-Cook Tres Leches - Recipe
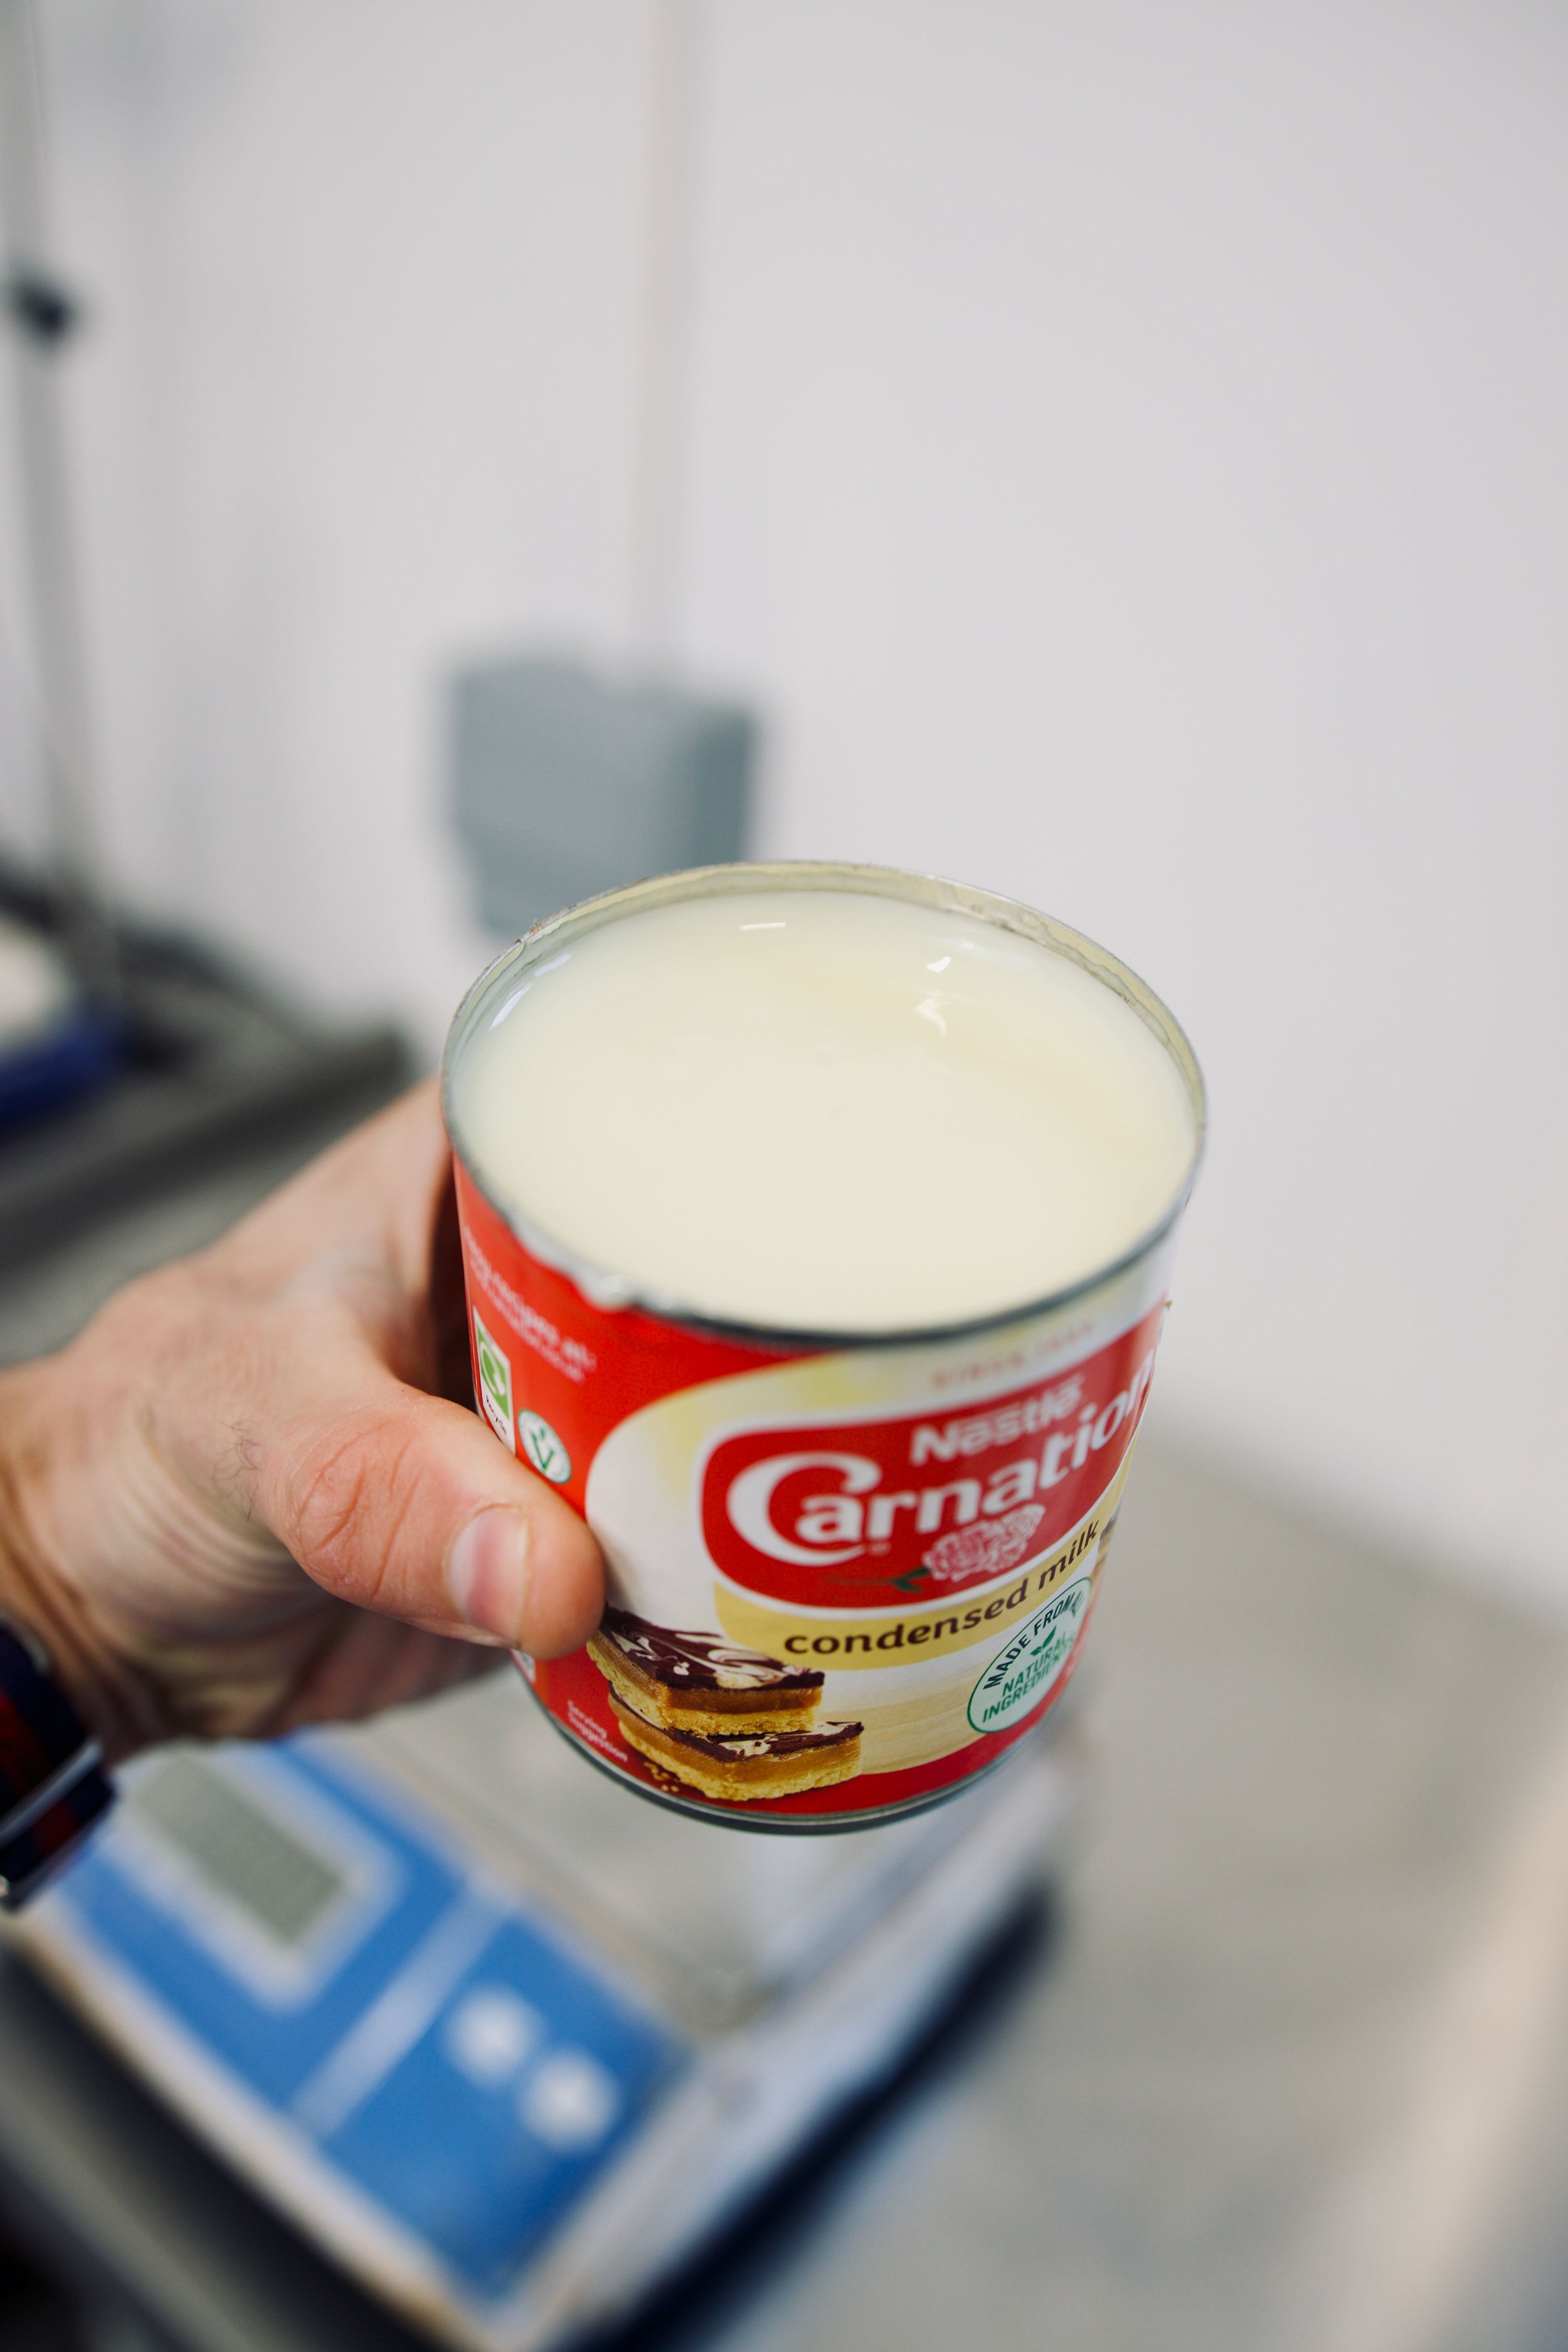
I’ve designed this recipe to be as easy and quick to produce as possible: it doesn’t need to be heated, requires only three ingredients, and takes about 10 minutes to prep. I’ll start by briefly discussing a fundamental flaw that I’ve found with the recipes in the recipe booklet that’s included with the machine and how I’ve addressed this flaw in this recipe. I’ll then present two versions of the recipe, one for the US and one for the UK, to account for the difference in the composition of Carnation sweetened condensed milk available in these two countries.
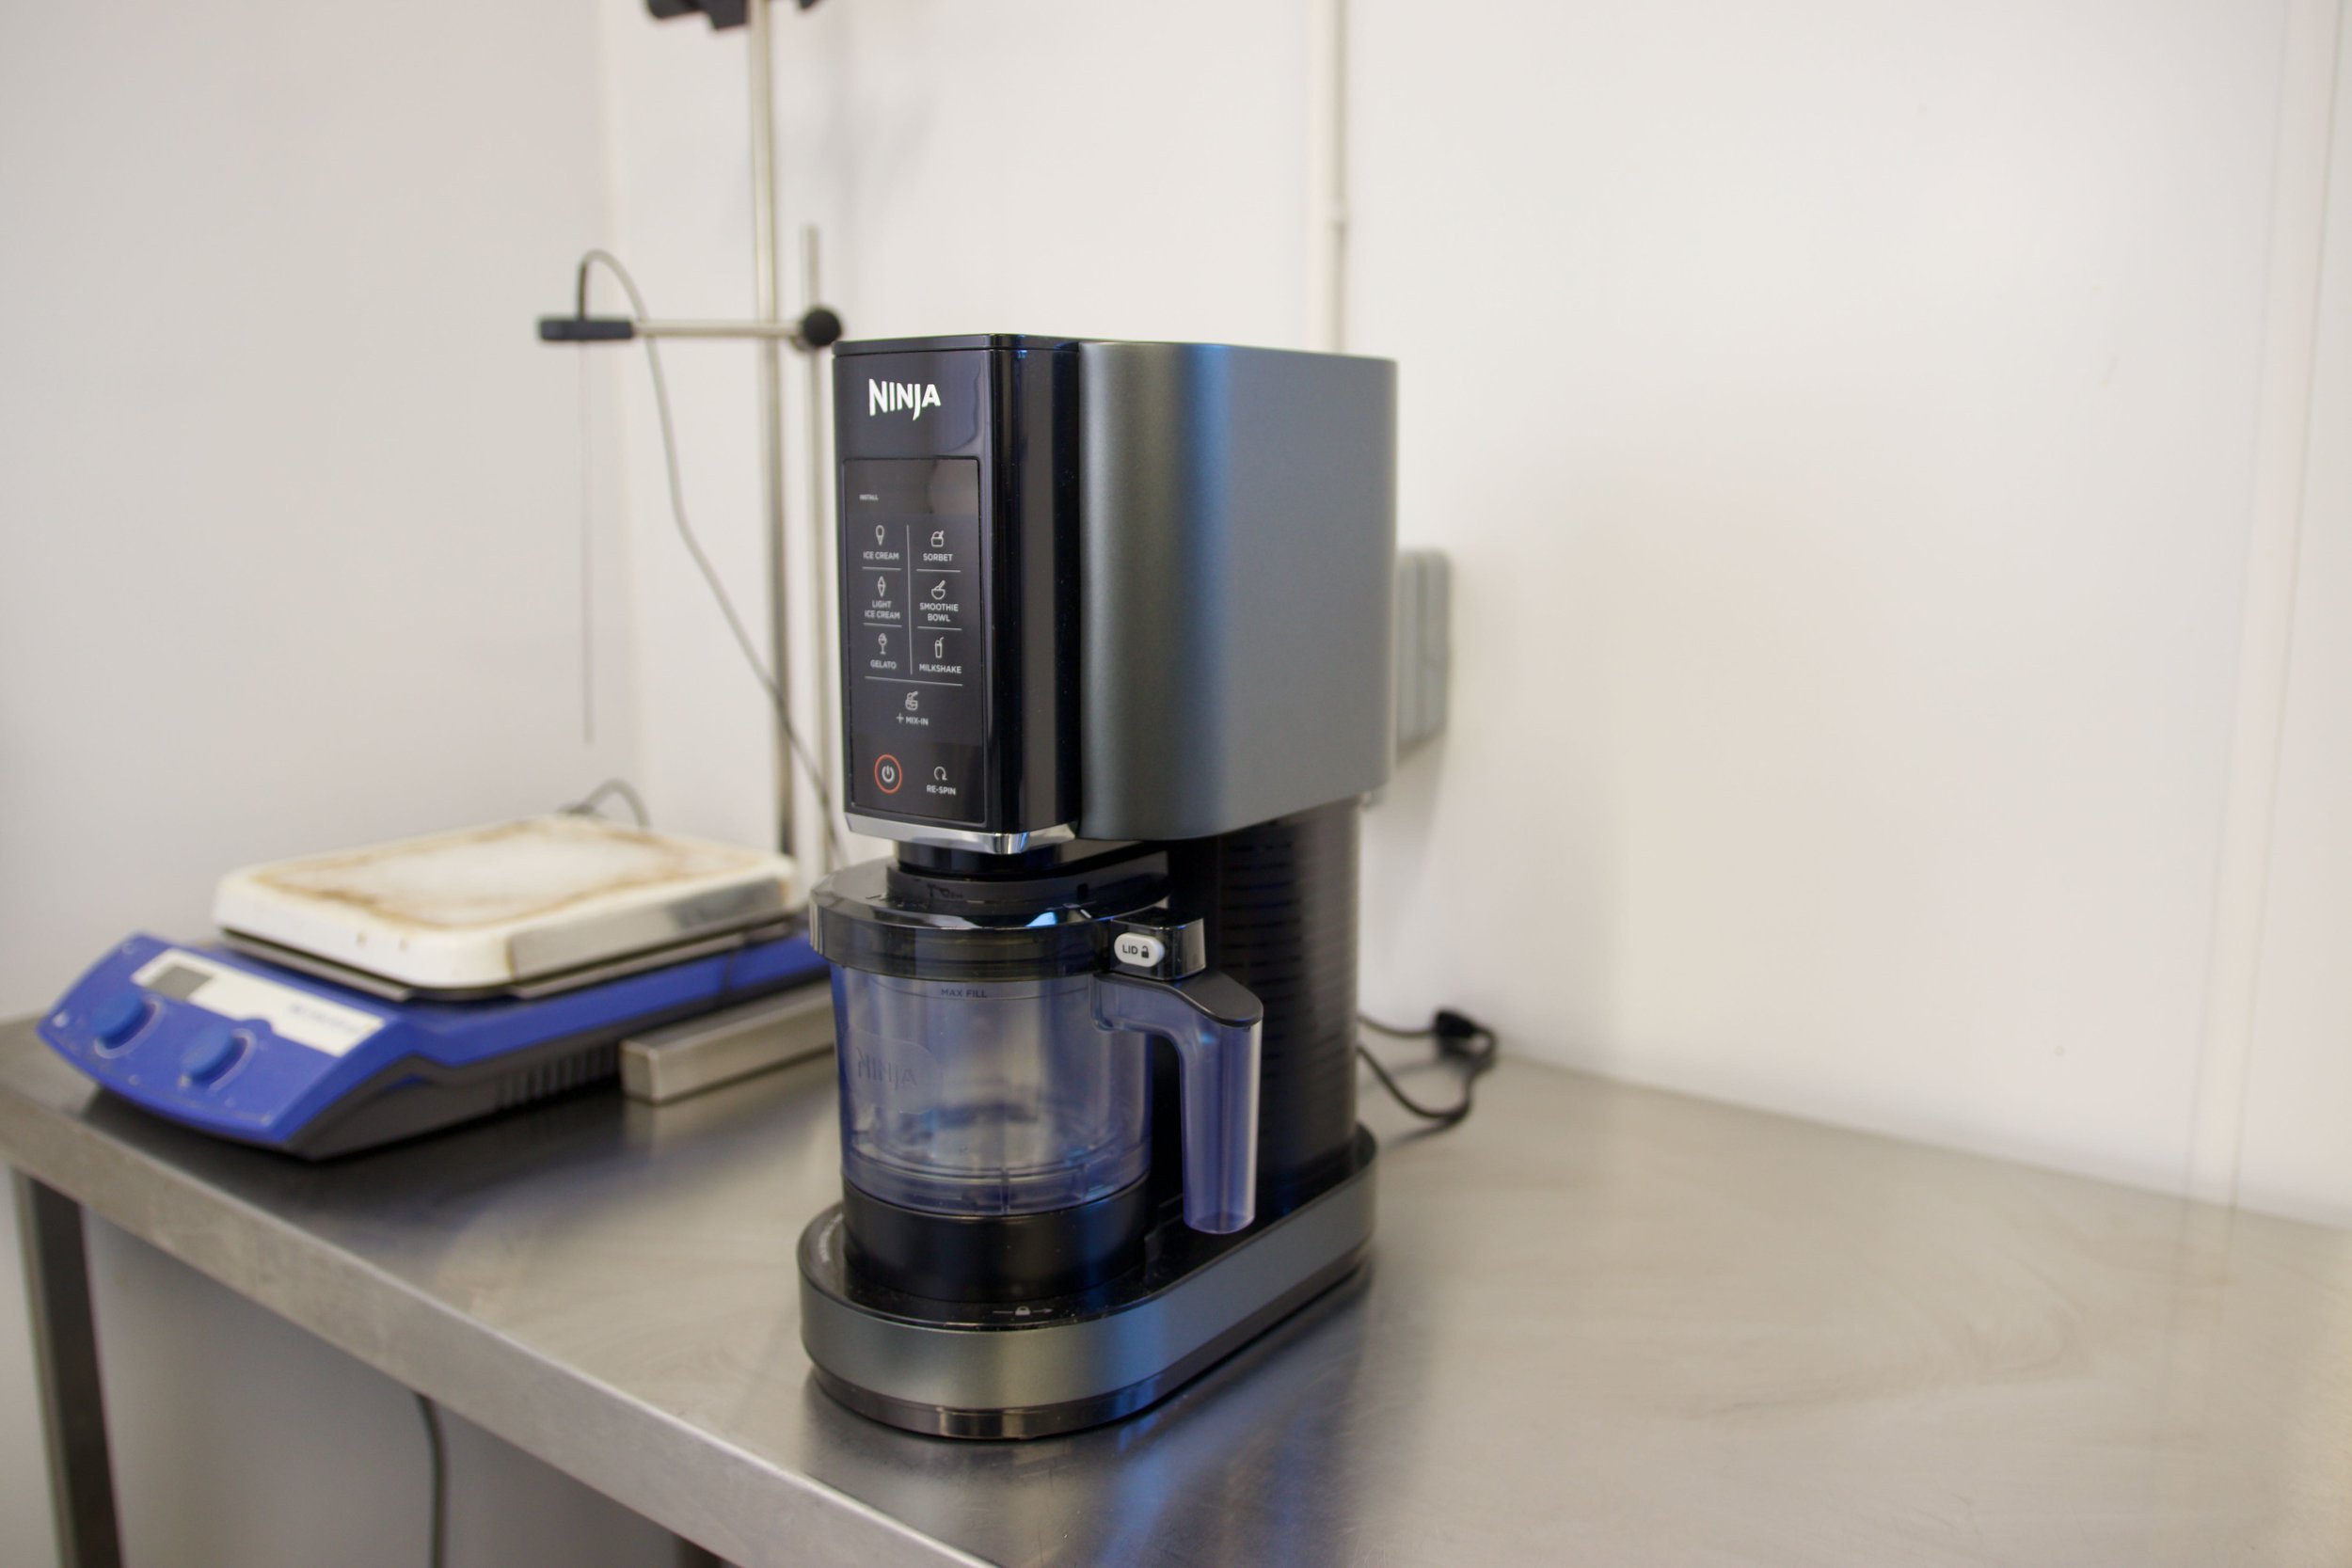
Ninja Creami NC301 Ice Cream Maker - A Comprehensive Review
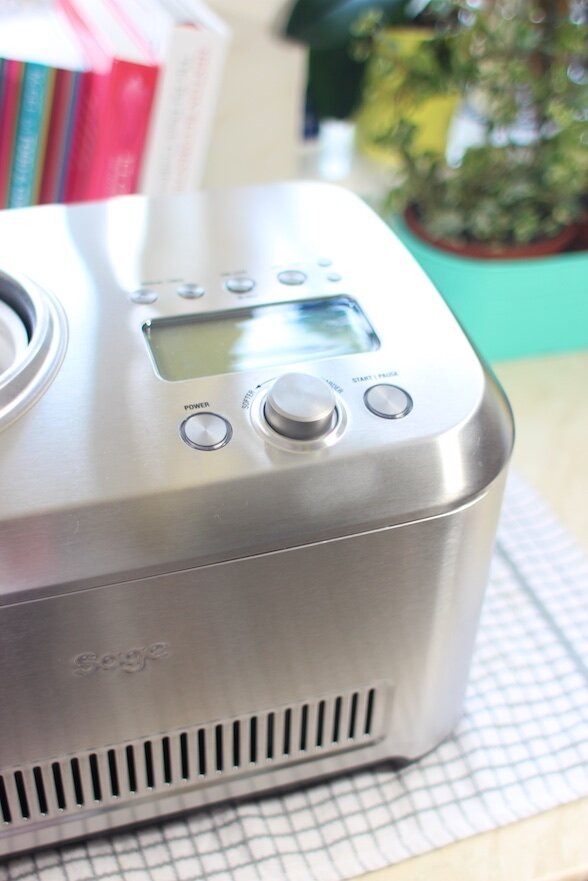
The Ninja Creami NC301 is an ice cream maker for home cooks that is largely based on the Pacojet, a $7,000 commercial machine usually found in restaurants and hotel kitchens. I’ve been testing it in my kitchen now for 10 weeks and my overall impression is positive. Its convenience, both in terms of production and cleaning, is its biggest asset and I also like its relatively small footprint and light weight.
The best ice cream maker 2023 - A comprehensive guide
In this post, I’ll cover the two main categories of ice cream maker available to the home cook, namely those with an in-built refrigeration unit (commonly referred to as 'compressor' ice cream makers) and those without, the benefits and drawbacks of each, some tips, and which ice cream makers I recommend.
Can the way in which an ice cream flavour is described influence what it tastes like and even how much we like it?
In this first post of 2023, I'm going to examine whether the way in which food is described or labelled can influence what it tastes like and even how much we like it. I will then argue that by simply changing the name or description of an ice cream flavour, we can change not only what it tastes like, but also how much it is liked. Finally, I will discuss the implications of this research for both commercial ice cream producers and domestic cooks. As always, one of the joys of blogging is the collaborative process of co-creation so do feel free to get in touch with ideas or questions.
The Ice Cream Science Podcast - Episode 2 - Chris Fettes, retired US Navy SEAL Team 6 operator and founder of Be Free Craft Ice Cream
In this episode, I sit down with Chris Fettes. Chris is a retired US Navy Seal who served in the Naval Special Warfare Development Group (DEVGRU), also known as SEAL Team 6. He is now the founder of Be Free Craft Ice Cream, a small-batch artisan ice cream company based in Virginia Beach in the US.

The Ice Cream Science Podcast #1 - Michael Dalla Libera, co-owner of Crèmerie Dalla Rose
Hi everyone and welcome to the first episode of The Ice Cream Science podcast! 😀 In this episode, I sit down to chat ice cream with chef Michael Dalla Libera. Michael is the co-owner of Crèmerie Dalla Rose, an artisan ice cream shop based in Montreal, Canada.
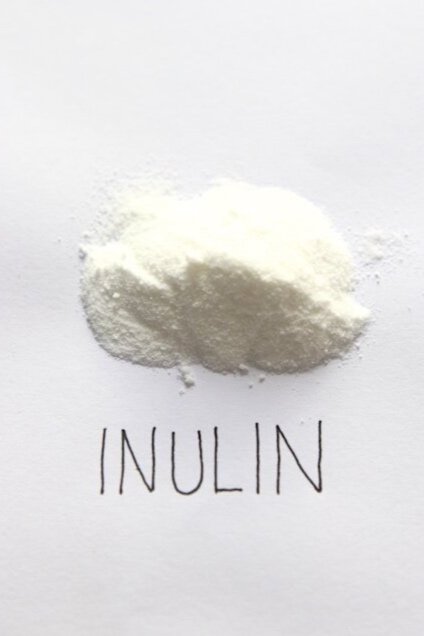
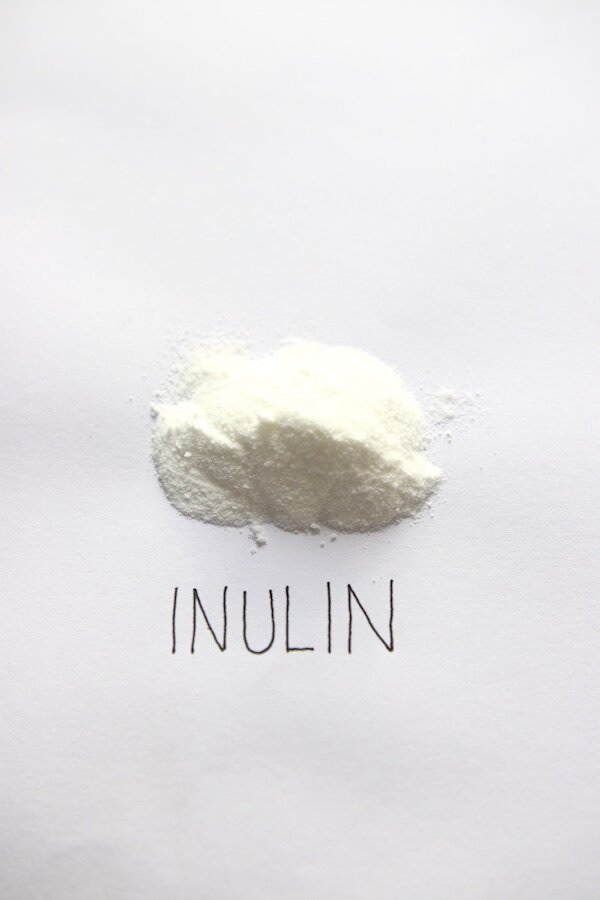
Why is inulin used in ice cream?
In this review, I will cover the different types of inulin products available, their functional properties in ice cream, their health-promoting properties, and the possible side-effects of overconsumption.
Why are emulsifiers used in ice cream?
This post will provide a comprehensive review of why emulsifiers are used in ice cream. In addition, it will cover the most commonly used synthetic (namely mono- and diglycerides, polysorbate 80, and glycerol monooleate) and natural (namely egg yolk and sweet cream buttermilk) emulsifiers, as well as their recommended quantities in ice cream.


Lello Musso Pola 5030 Dessert Maker - A Comprehensive Review
The Lello Musso Pola 5030 Dessert Maker was my recent upgrade from the smaller Lello 4080 Musso Lussino, which I'd been using for about a year. After close to a month of testing, I've found that it produces exceptional ice cream that is extremely smooth, dense, and creamy. It has a maximum capacity of 1500 ml (1.59 quart) of ice cream mix, although I've found an optimum capacity of 1100 ml (1.16 quart) of ice cream mix, producing about 1300 ml (1.37 quart) of extremely smooth, dense, and creamy ice cream with about 18% air in 11 minutes 55 seconds. I've also gotten great results with gelato: freezing 880 ml (0.93 quart) of gelato mix produces about 1000 ml (1.06 quart) of smooth, dense, and creamy gelato with about 14% air in 10 minutes 45 seconds. My only complaint is the gap between the central pin and the surrounding plastic, which can let in ice cream mix during extraction and cleaning if you’re not careful.