
Ninja Creami NC301 Easy No-Cook Tres Leches - Recipe

If you find the content on this blog useful and would like to support my work, please consider doing so on Patreon.
This Tres Leches recipe is the first in a series that I’ll be formulating for the Ninja Creami NC301 ice cream maker. This relatively new ice cream maker is largely based on the commercial Pacojet, a $7,000 commercial machine usually found in restaurants and hotel kitchens. I’ve written a comprehensive review of this machine, which you can read here.
I’ve designed this recipe to be as easy and quick to produce as possible: it doesn’t need to be heated, requires only three ingredients, and takes about 10 minutes to prep. I’ll start by briefly discussing a fundamental flaw that I’ve found with the recipes in the recipe booklet that’s included with the machine and how I’ve addressed this flaw in this recipe. I’ll then present two versions of the recipe, one for the US and one for the UK, to account for the difference in the composition of Carnation sweetened condensed milk available in these two countries.
You might also like to read:
1. The problem with recipes in the recipe booklet
As I’ve discussed in section 3.2.1.3 of my review, a fundamental flaw with the ice cream and gelato recipes in the included recipe booklet that I’ve tested is their high freezing point. The freezing point of pure water is 0°C (32°F). When a substance is dissolved in water, however, the temperature at which the water freezes is lowered. This lowering of the freezing point is referred to as the ‘Freezing Point Depression’ and is defined as the difference between 0°C (32°F) and the temperature at which water in an ice cream mix first begins to freeze (1).
A low freezing point produces ice cream that is softer to scoop, has smoother texture, feels warmer in the mouth, and melts faster, whereas a high freezing point produces ice cream that feels colder, is harder to scoop, isn’t as smooth, melts slower, and is more prone to the full coalescence (the coming together) of the fat globules, resulting in unpleasantly large clumps of fat that are detectable in the mouth.
The problem with all three recipes from the recipe booklet that I’ve tested is that primarily due to the low sugar content, and to a lesser extent the low total solids content, their freezing points are way too high and it is primarily this high freezing point that produces ice cream that is uncomfortably cold, dry, and crumbly and leaves an unpleasant layer of fat in the mouth.
To significantly depress, or reduce, the freezing point of this recipe, I’ve increased the sugar and total solids content. The result is ice cream that is smooth, dense, and creamy and has a slightly, albeit not excessively, sweet Tres Leches profile.
2. Recipe
I’ve included two recipe spreadsheets below. The first spreadsheet is for readers in the US and the second for readers in the UK.
For thE recipe, you will need the following 3 ingredients:
Carnation Sweetened Condensed Milk;
Double, or whipping, cream; and
Whole milk.
You can use any cream and milk that you like as both spreadsheets will easily adjust the amounts needed depending on their fat content. You do, however, have to use Carnation Sweetened Condensed Milk (this is called Carnation Condensed Milk here in the UK).
2.1 Tres Leches Recipe - US version
The quantities of each ingredient, in grams, are displayed in the cells coloured in green in the spreadsheet below. The default recipe is 183g double cream, 179g whole milk, and 165g Carnation sweetened condensed milk. Just as long as you don’t increase the batch size (I’ll explain how to do this below), the amount of Carnation sweetened condensed milk will remain constant but the amounts of milk and cream will change depending on the fat content of the dairy you use. The spreadsheet may look a little intimidating but it is extremely easy to use; I’ll go through each step below.
The spreadsheet comes populated with Horizon Organic Heavy Whipping Cream at 32.4% fat and Organic Valley Organic Whole Milk at 3.6% fat, both available from Walmart. You don’t have to use this milk and cream and can use the two that are the most conveniently available. You will just need to adjust their respective fat contents in the spreadsheet, which I’ll go through in next section.
2.1.1 Do I really have to adjust the spreadsheet?
Yep. If you use an equivalent amount of, for example, Crystal Creamery Heavy Whipping Cream at 38.8% fat without adjusting the 32.4% fat content in the spreadsheet, the higher 38.8% fat content will produce a recipe with an 18% fat content, instead of the 16% fat content that we’re aiming for. In my tests, ice cream with a fat content higher than 16% left an unpleasant fat layer in my mouth, along with small clumps of fat.
2.1.2 How to adjust the fat content
The fat content of your milk and cream will be in the the nutritional label somewhere on the bottle/carton; I’ve included the nutritional label for Horizon Organic Heavy Whipping Cream below, which we will use in our examples. The fat content will be expressed as a weight per serving, for example 5g of fat per 15ml serving.
Once you’ve located the nutritional label, the next step is to calculate the weight of fat, in grams, as a percentage of the serving size, which has two simple steps.
STEP 1: Convert the serving size from millilitre to grams
The first thing we need to do is convert the serving size from millilitres to grams because 100ml of cream isn’t quite equal to 100g. To do this, we will use the following formula:
103g ÷ 100ml × serving size (ml) = serving size in grams.
Using the Horizon Organic Heavy Whipping Cream nutritional information as an example, we get:
103 ÷ 100 × 15 = 15.45g serving size.
STEP 2: convert the weight of fat per serving to a percentage
The next step is to convert the weight of fat, in grams, per serving to a percentage. To do this, we will use the following formula:
Total fat weight (g) ÷ serving size in grams × 100.
Using the Horizon Organic Heavy Whipping Cream nutritional information below, we get:
5 ÷ 15.45 × 100 = 32.36. Rounded up gives 32.4% fat content.
Repeat steps 1 and 2 for your milk.

STEP 3: adjust the data in the spreadsheet
Once you’ve calculated the fat content, expressed as a percentage, of the milk and cream you’ll be using, the next step is to adjust the spreadsheet below. To do this, select the yellow cell in the top left of the spreadsheet labelled ‘Cream fat (%)’, which is set to 32.4, and enter the fat content percentage of your cream.
Next, select the yellow ‘Milk fat (%)’ cell directly under the ‘Cream fat (%)’ cell, which is set to 3.6, and enter the fat content of your milk. Press the enter or tab key on your keyboard to update the weights of the milk and cream, which are displayed in the cells coloured in green.
You’re all set.
STEP 4: adjust the batch size
The batch size for this recipe is set to 526g of mix, which will produce about a pint of churned ice cream. If you want to produce a larger batch and break it down into 4 or 5 different pint containers that can be churned when needed, you can do so by increasing the 526 in the yellow cell labelled ‘Mix Weight (g)’ and hitting enter or tab on your keyboard. The spreadsheet will adjust the weight of each ingredient, displayed in grams in the cells coloured in green, needed for the adjusted batch size.
2.2 Tres Leches Recipe - UK version
The spreadsheet below comes populated with Tesco Double Cream at 49.03% and Tesco Whole Milk at 3.59%. If you’re using milk or cream with a different fat content, please follow Steps 1 - 3 above to adjust the spreadsheet.
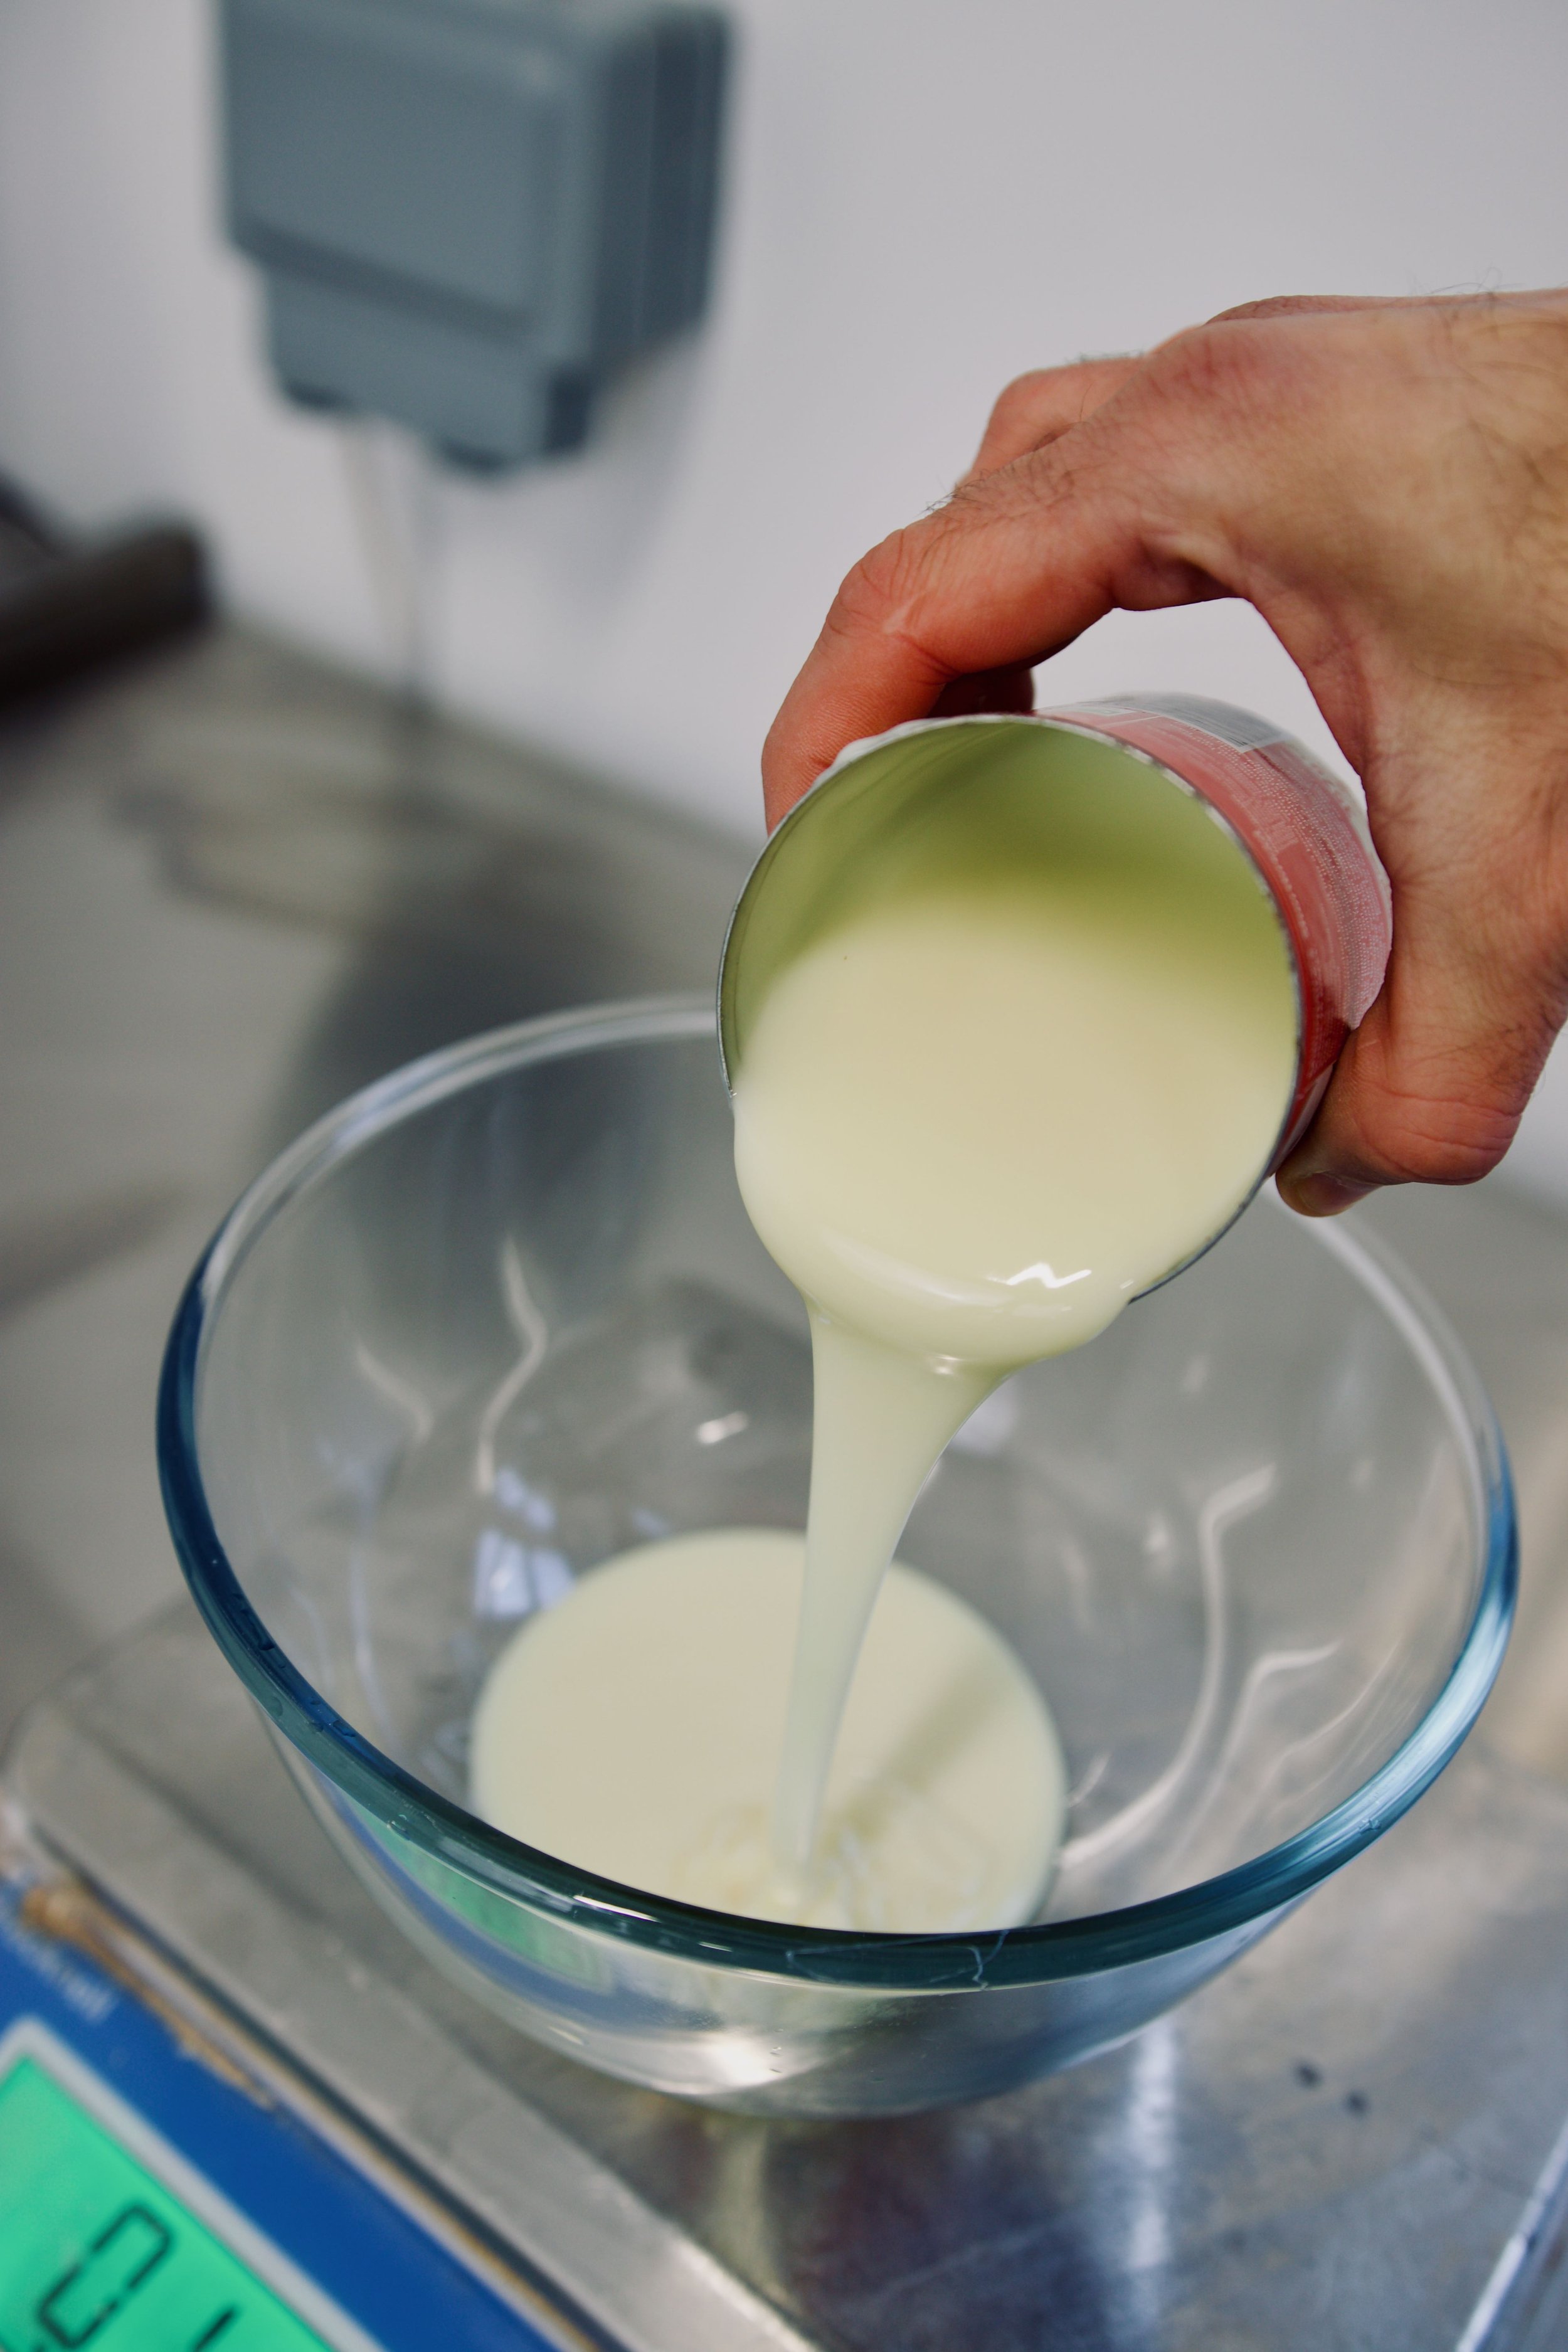
3. Combine the ingredients
Now that you have updated the spreadsheet, the next step is to combine the three ingredients. Using a set of digital scales, weigh each ingredient and mix well for a minute or so in a large bowl. There is no need to heat this mix.
Once combined, pour the mix into a single, or multiple if you’ve increased the batch size, pint and freeze for 24 hours.

4. Churn
After 24 hours, churn the pint(s) using the ice cream setting. Once churned, the ice cream will be at around -11.5°C (11.3°F) and ready to serve. You only need to churn the pint once and I wouldn’t recommend using the resin setting for a second churn. Doing so will increase the temperature to somewhere around -9°C (19.4°F) where sweetness will be more pronounced (warmer temperatures increase the sweetness intensity).
5. Storage
Texture and flavour will be at their best immediately after churning but you can store the churned ice cream in the pint with the lid on; I’ve gotten great results with the ice cream still being smooth and creamy after 5 days’ storage. I probably would have gotten longer but a power cut in my kitchen prematurely ended my shelf-life test.
As always, one of the joys of blogging is the collaborative process of co-creation so do feel free to get in touch with your feedback, especially on the sweetness level.
Ruben.
6. References
Goff, H. D., and Hartel, R., W., 2013. Ice Cream. 7th ed. New York: Springer